
Deep Dive: Wet Cyanotypes
Cyanotypes come in many flavors. The one most people are familiar with is what’s known as the dry method. The chemicals are applied to the paper and left to dry. Then they are exposed to the sun (or a UV light) to make your image. To level up, you can try the wet method. Once the chemicals are applied to the paper, you lay your subject on top and get to playing. Add in any number of things to create some unexpected reactions as you expose it to the sun. Common additives are vinegar, salt, soap bubbles, and turmeric. Some of my favorites in addition to those are walnut ink and liquid watercolor. Because of the additives and the wet chemicals, the exposing time is quite lengthy in comparison to the dry method. In the height of summer here on the Oregon coast, I can expose dry cyanotypes in 10 minutes (probably even less, but I usually do 10). Wet cyanotypes need much longer and I usually go for at least 2 hours if not more. I find that wet cyanotypes are really great for cloudy days. Especially if you leave them out for most of the day.
I fooled around with the wet method last year near the end of the sunny times. The end of what I like to call cyanotype season is when the rains start. Making cyanotypes in the rain is not impossible, but not super fun. I only made a few and they turned out great.


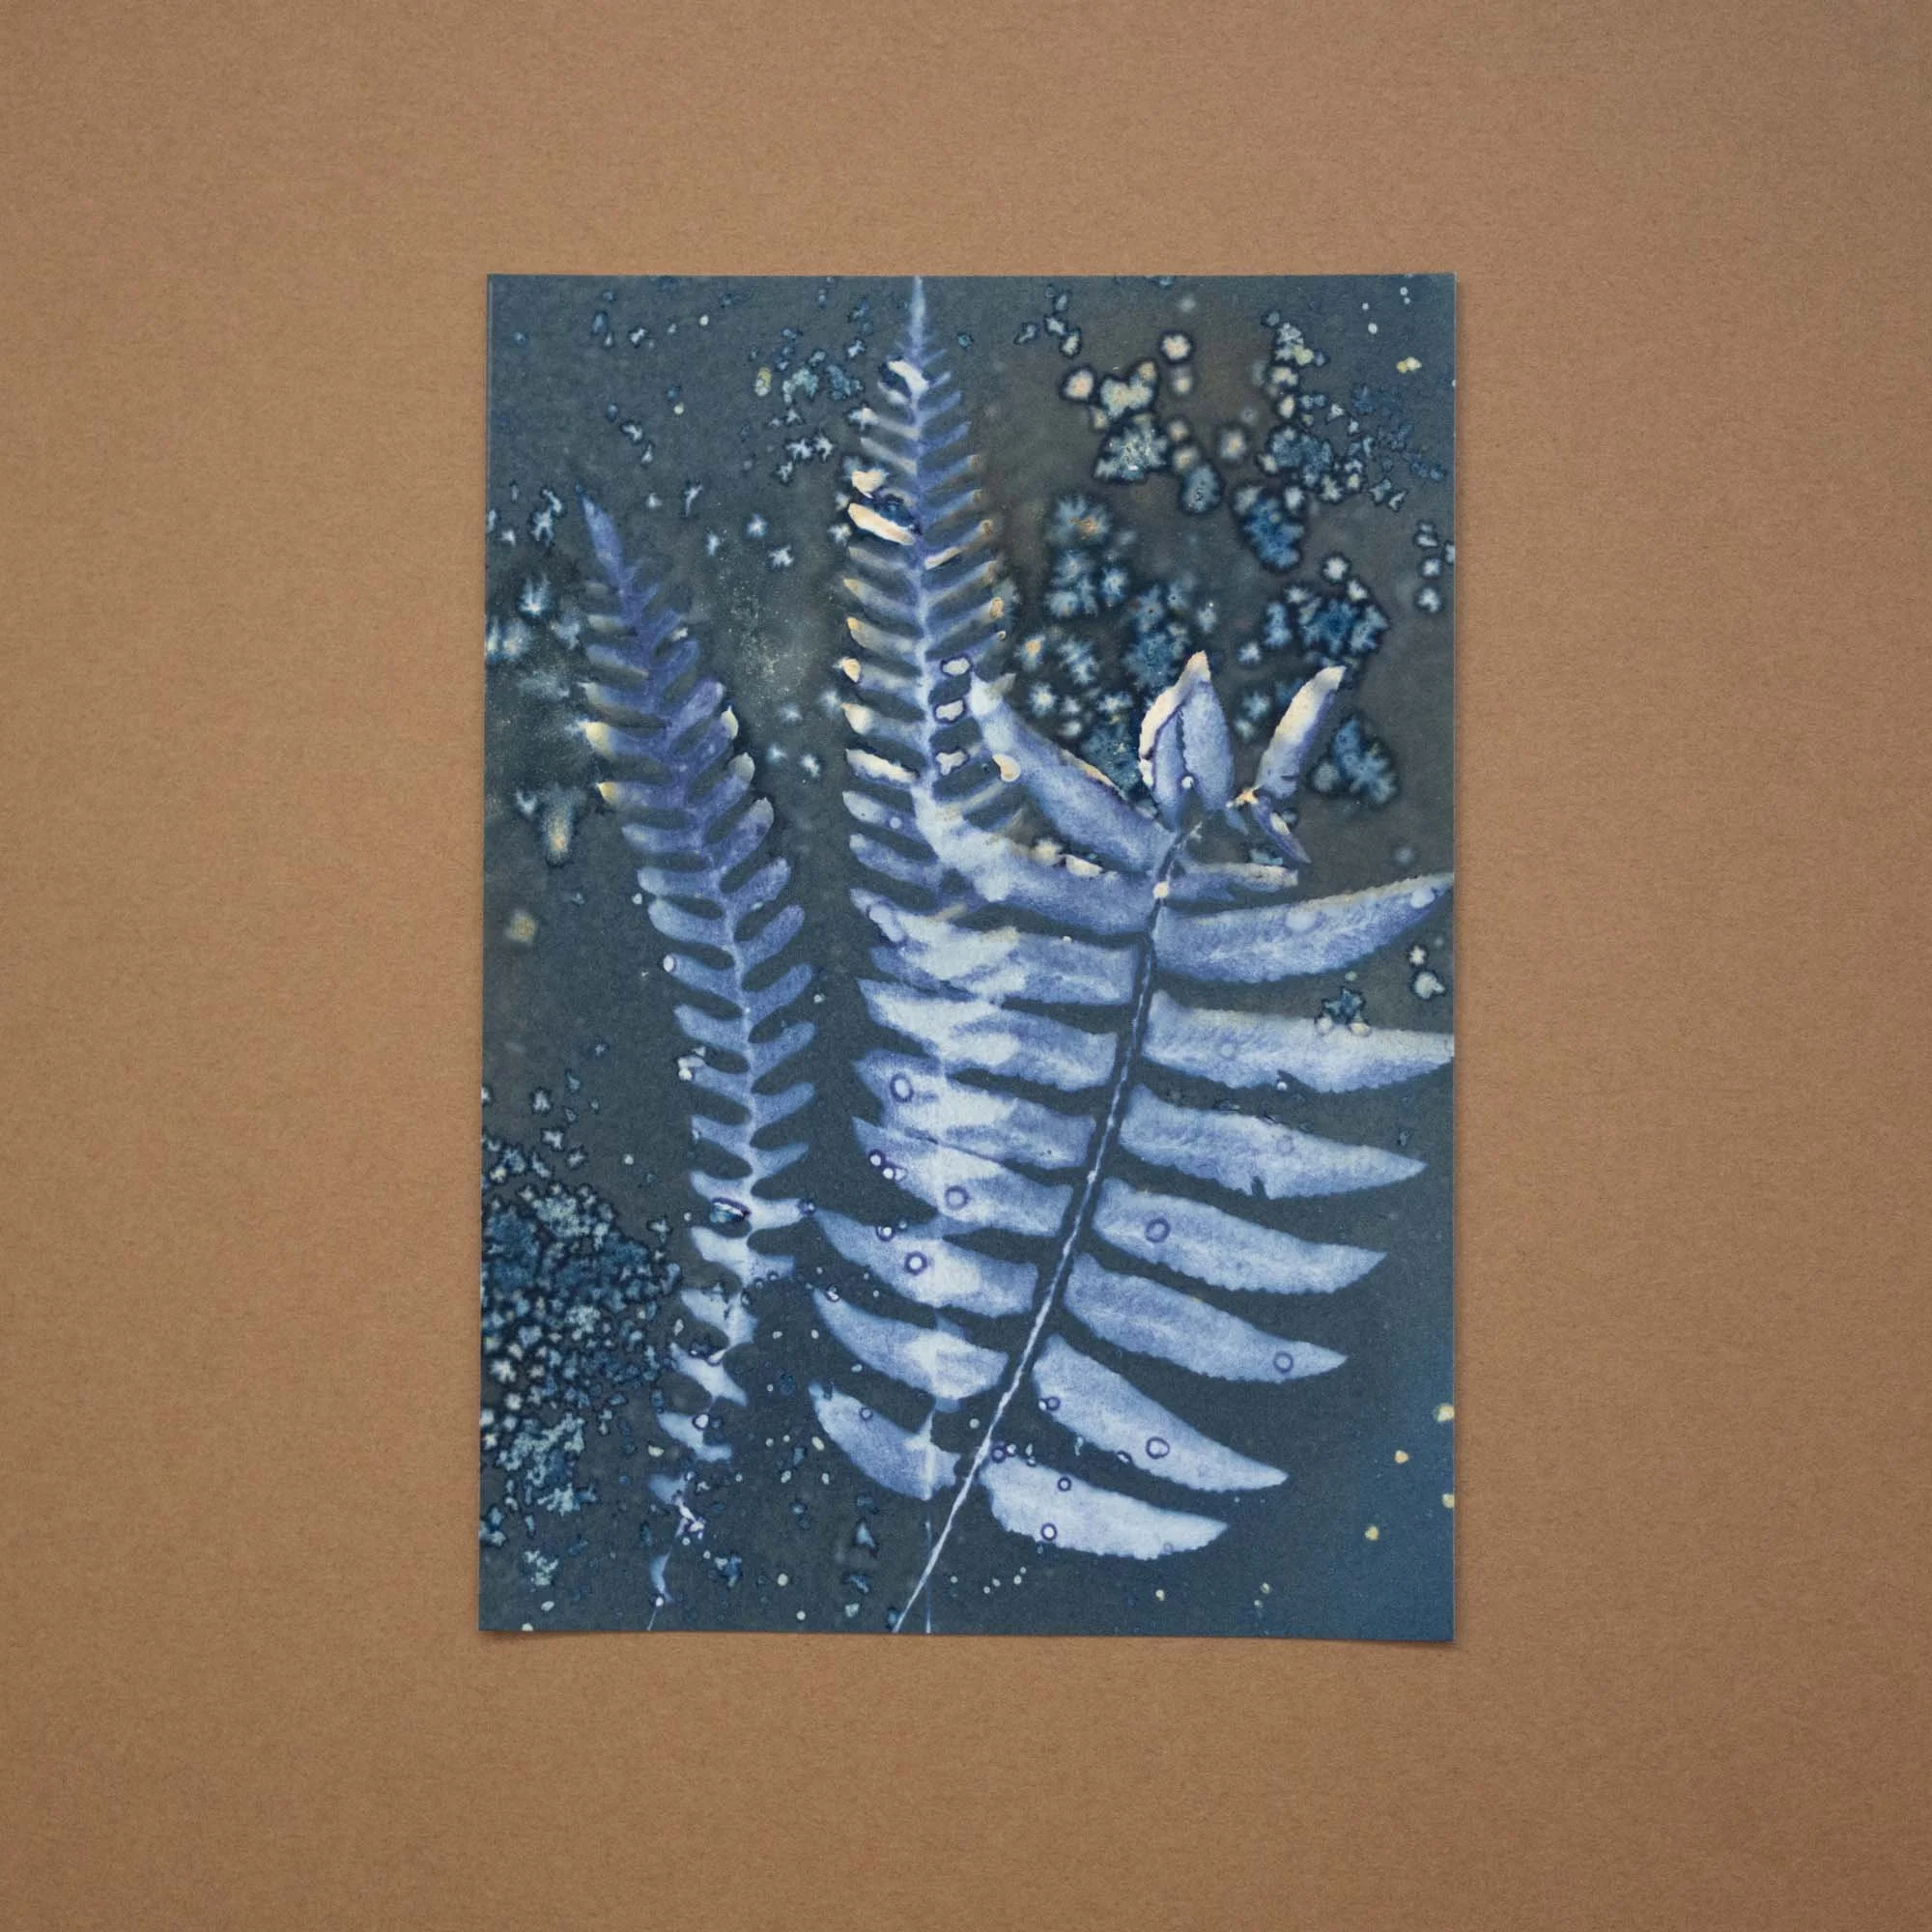
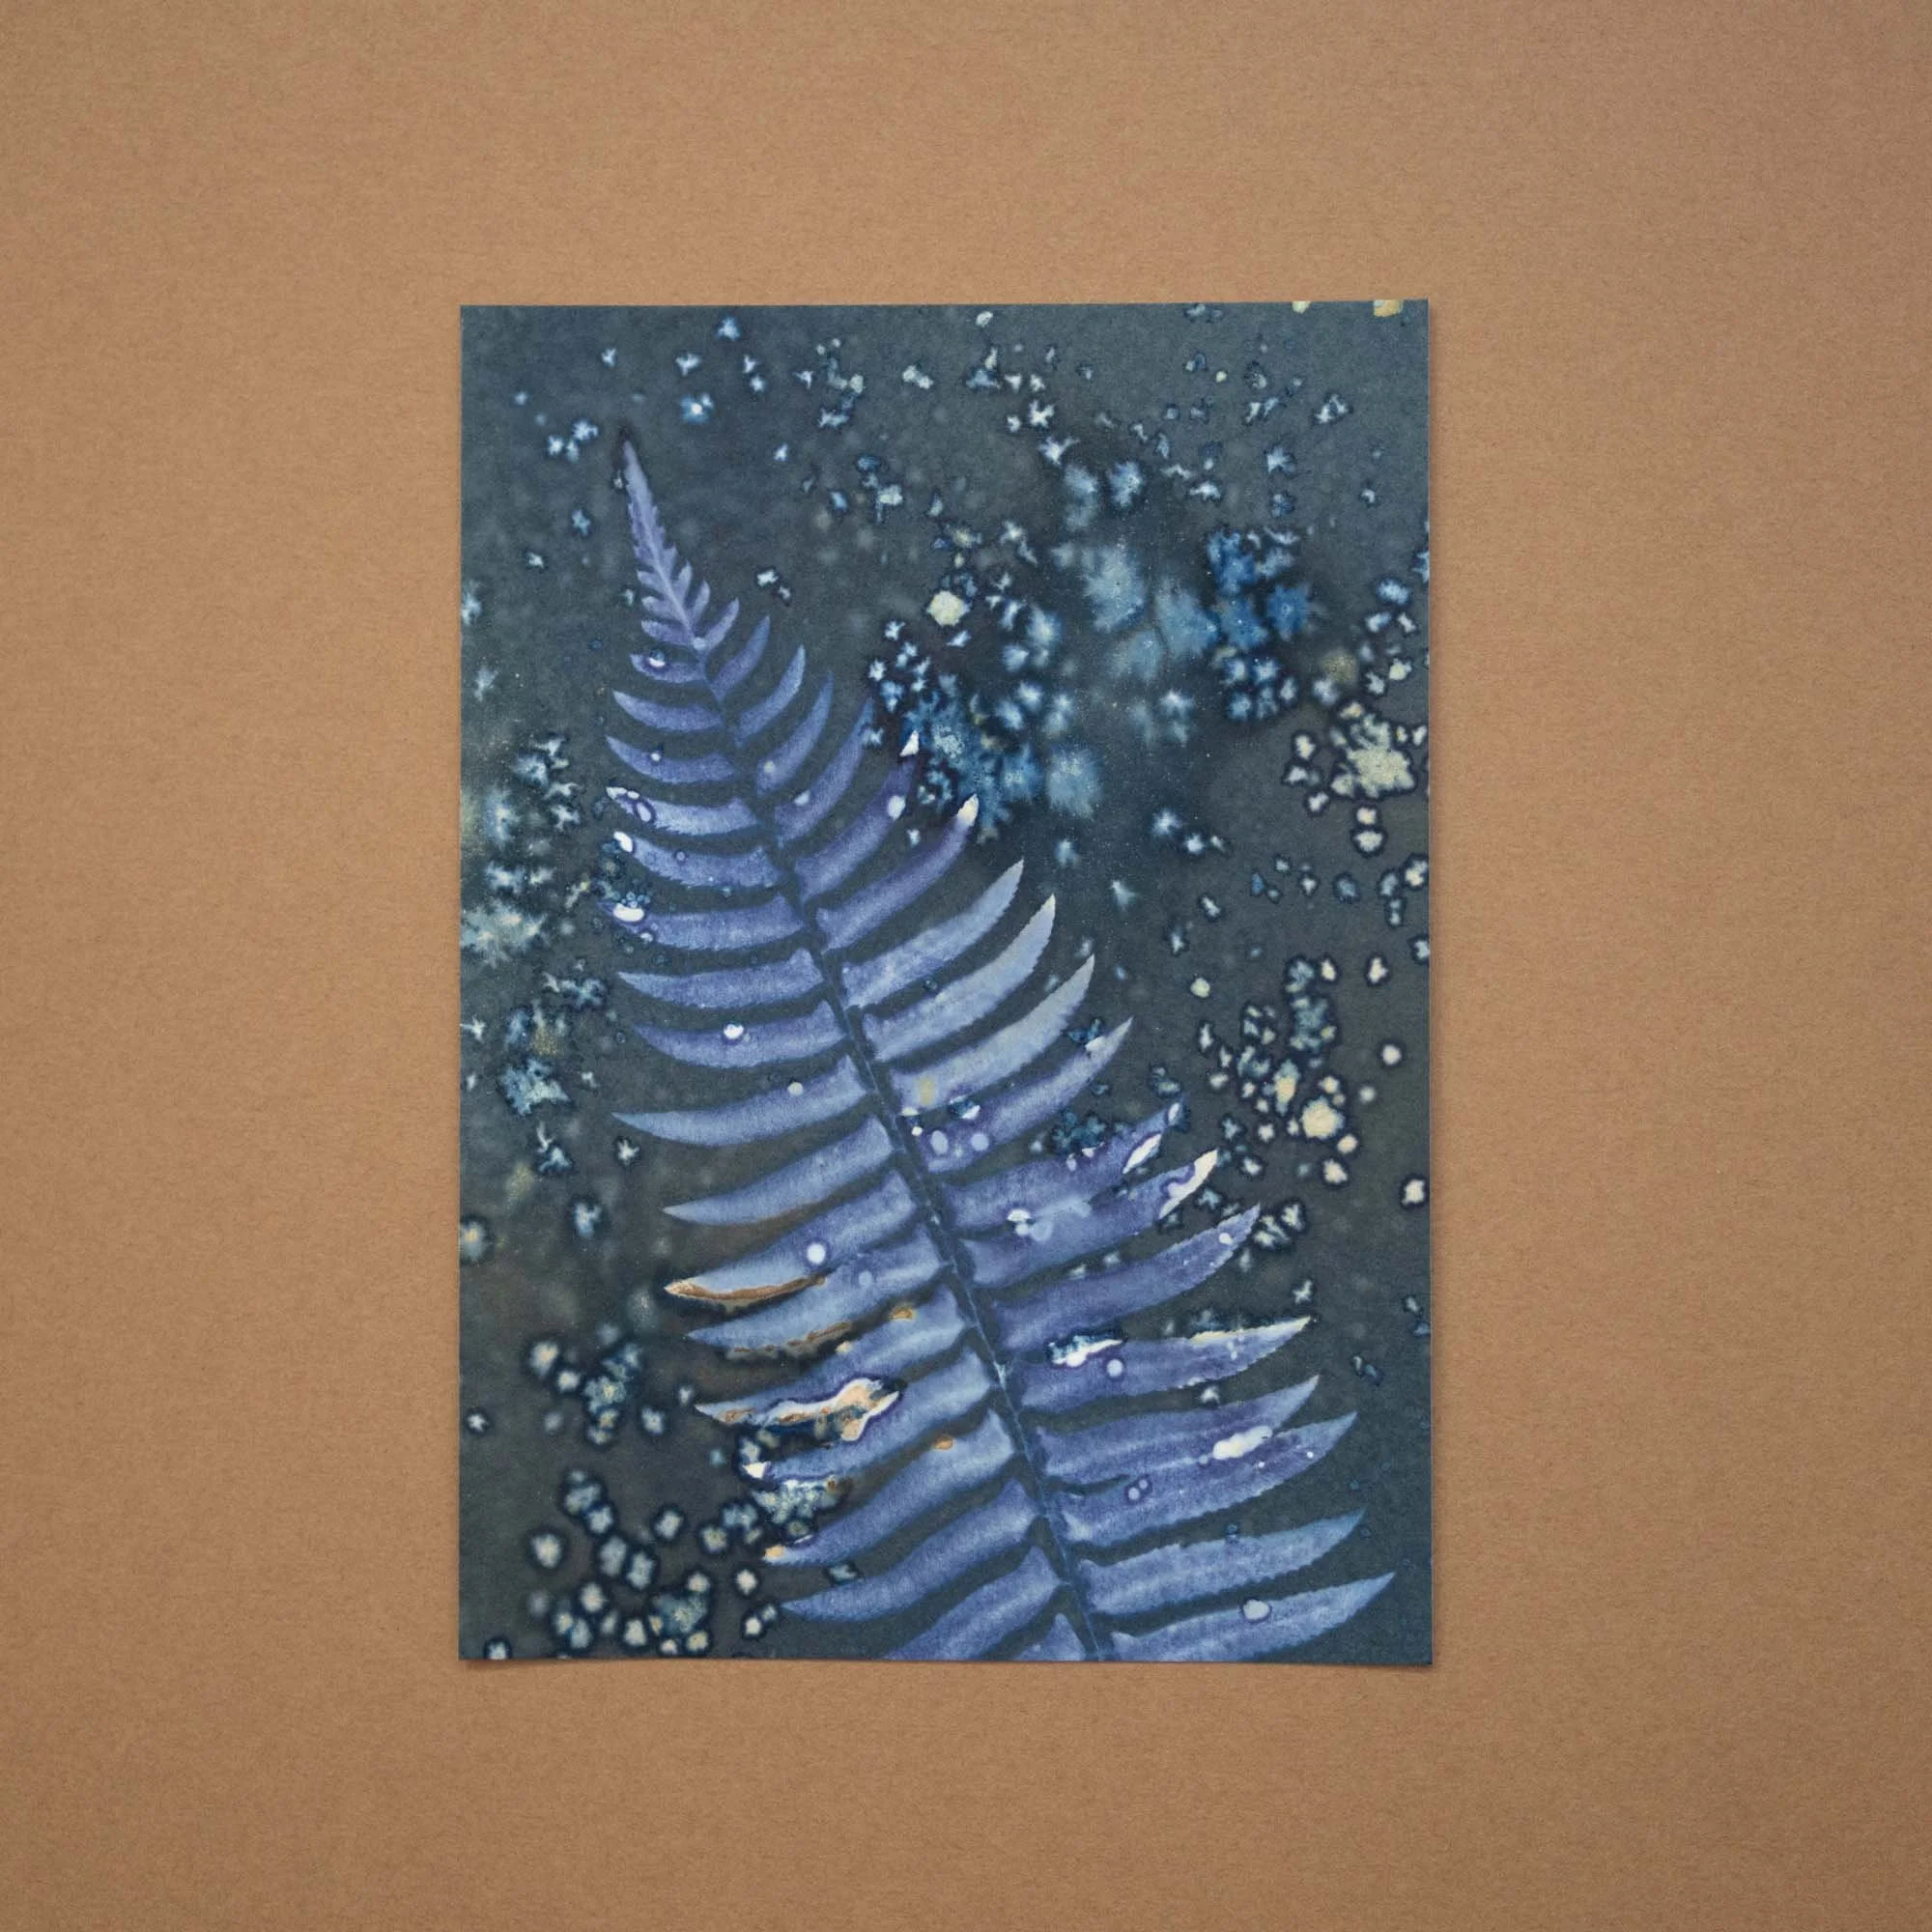
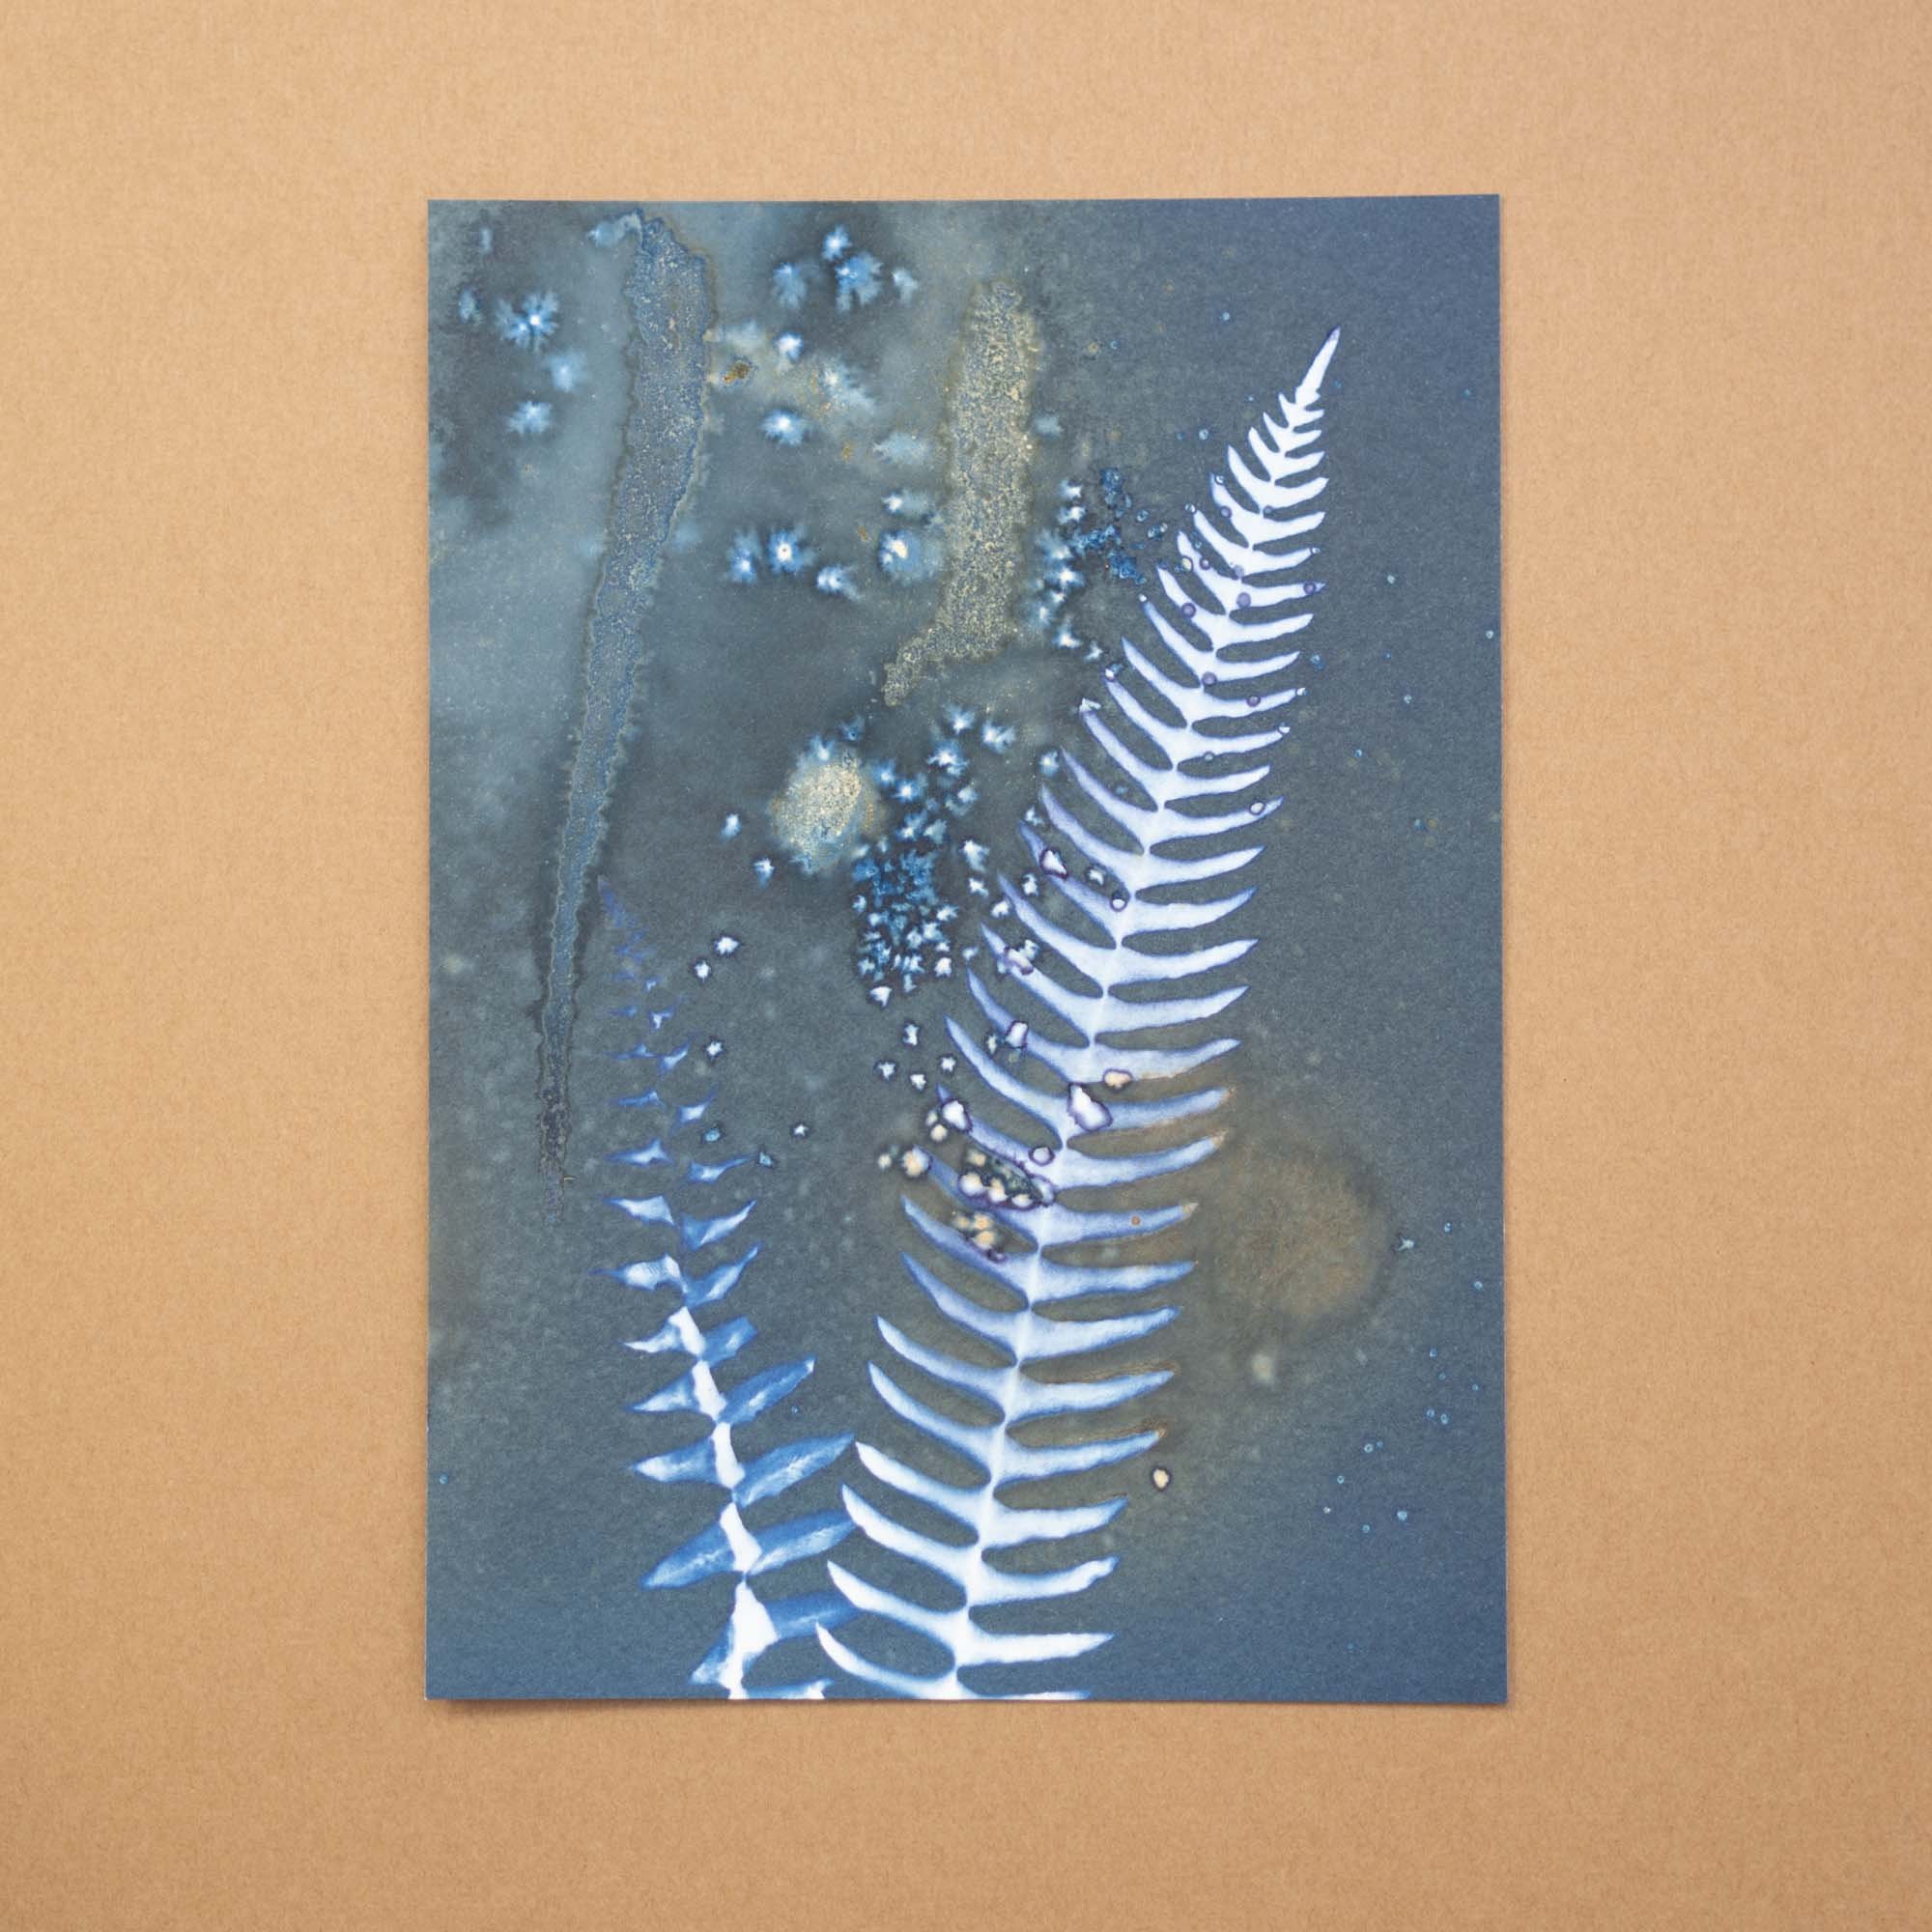
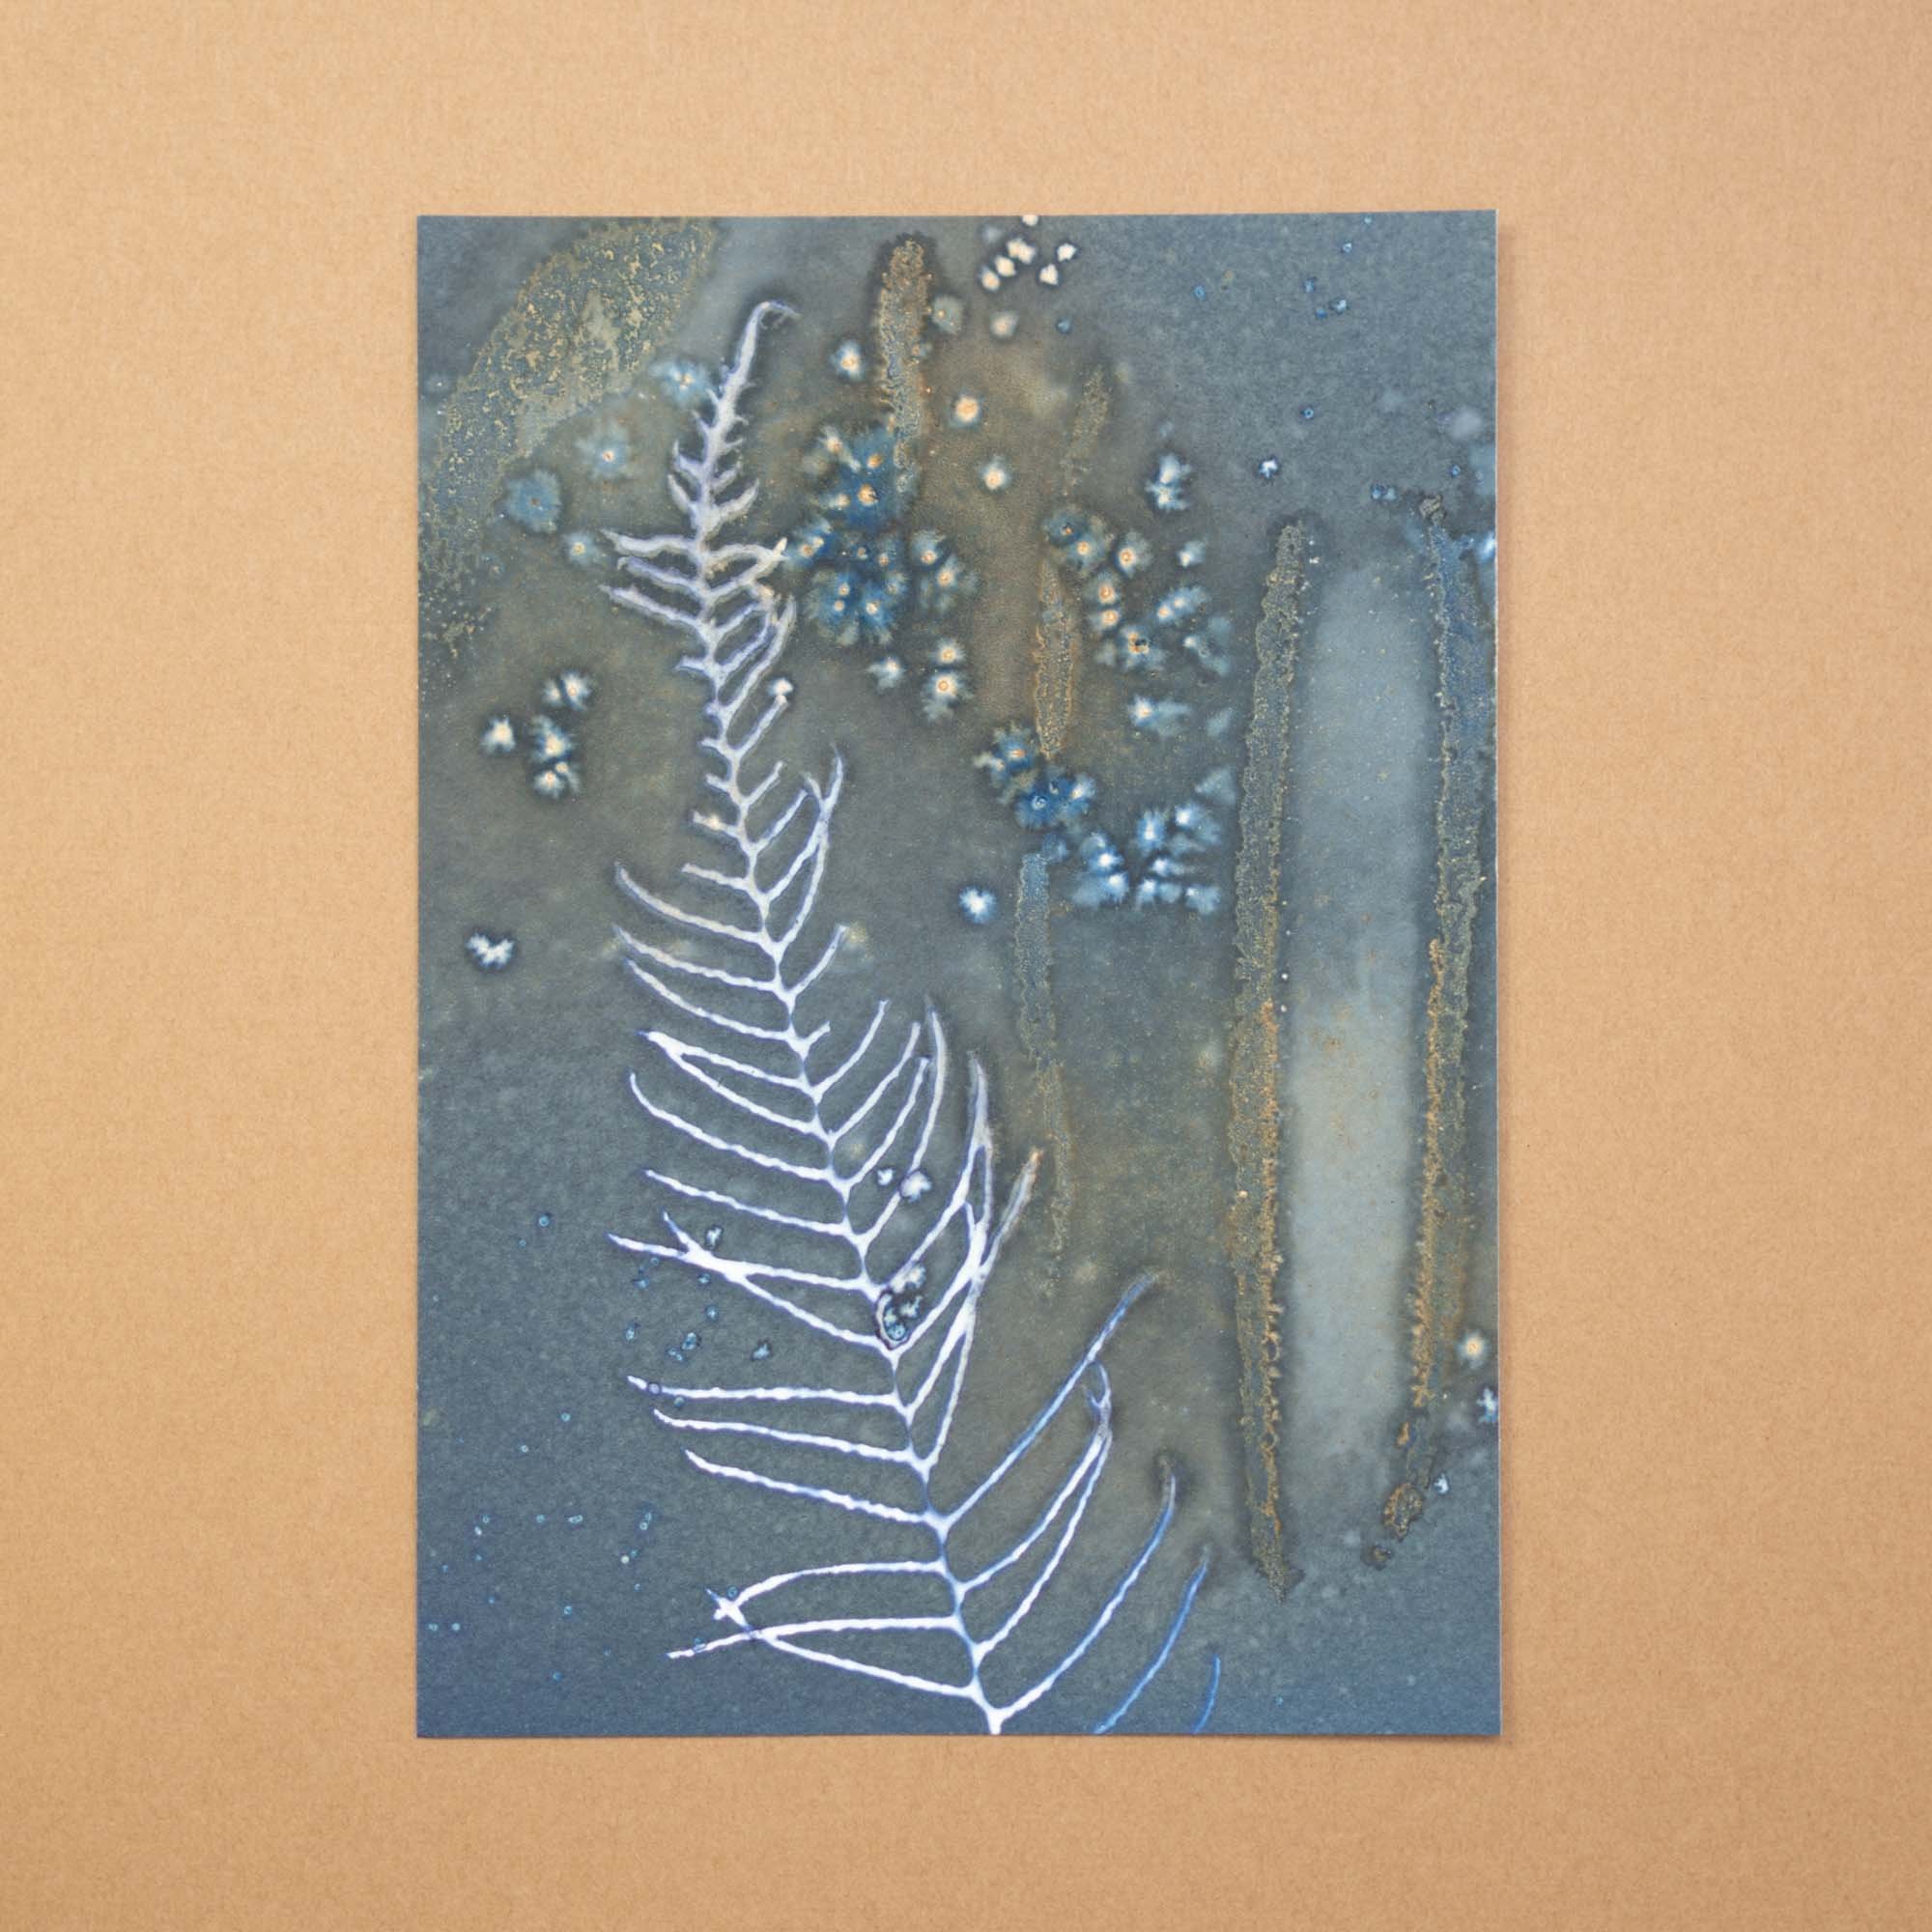
These prints include diluted vinegar (in a spray bottle), diluted walnut ink (in a spray bottle), and salt in addition to the wet cyanotype chemicals. They look like something out of a fairy world to me. Lots of magic and twilight. As I did them late in the season, I just threw a bunch of stuff at them and lucked out. I tried making some more later on, but they weren’t the same. They were still cool, just not what I was hoping for.

This tulip print was a turning point. I thought some of the petal color had transferred to the paper. But no! It was just a deep image due to the nature of the wet cyanotype. This was something I wanted to replicate. The ferns and Queen Anne’s Lace I had been using worked great for strong contrasty images. But the tulip had petals that provided translucency and the structure of the flower itself was complex. Even the leaves had depth because they weren’t thick like the ferns.
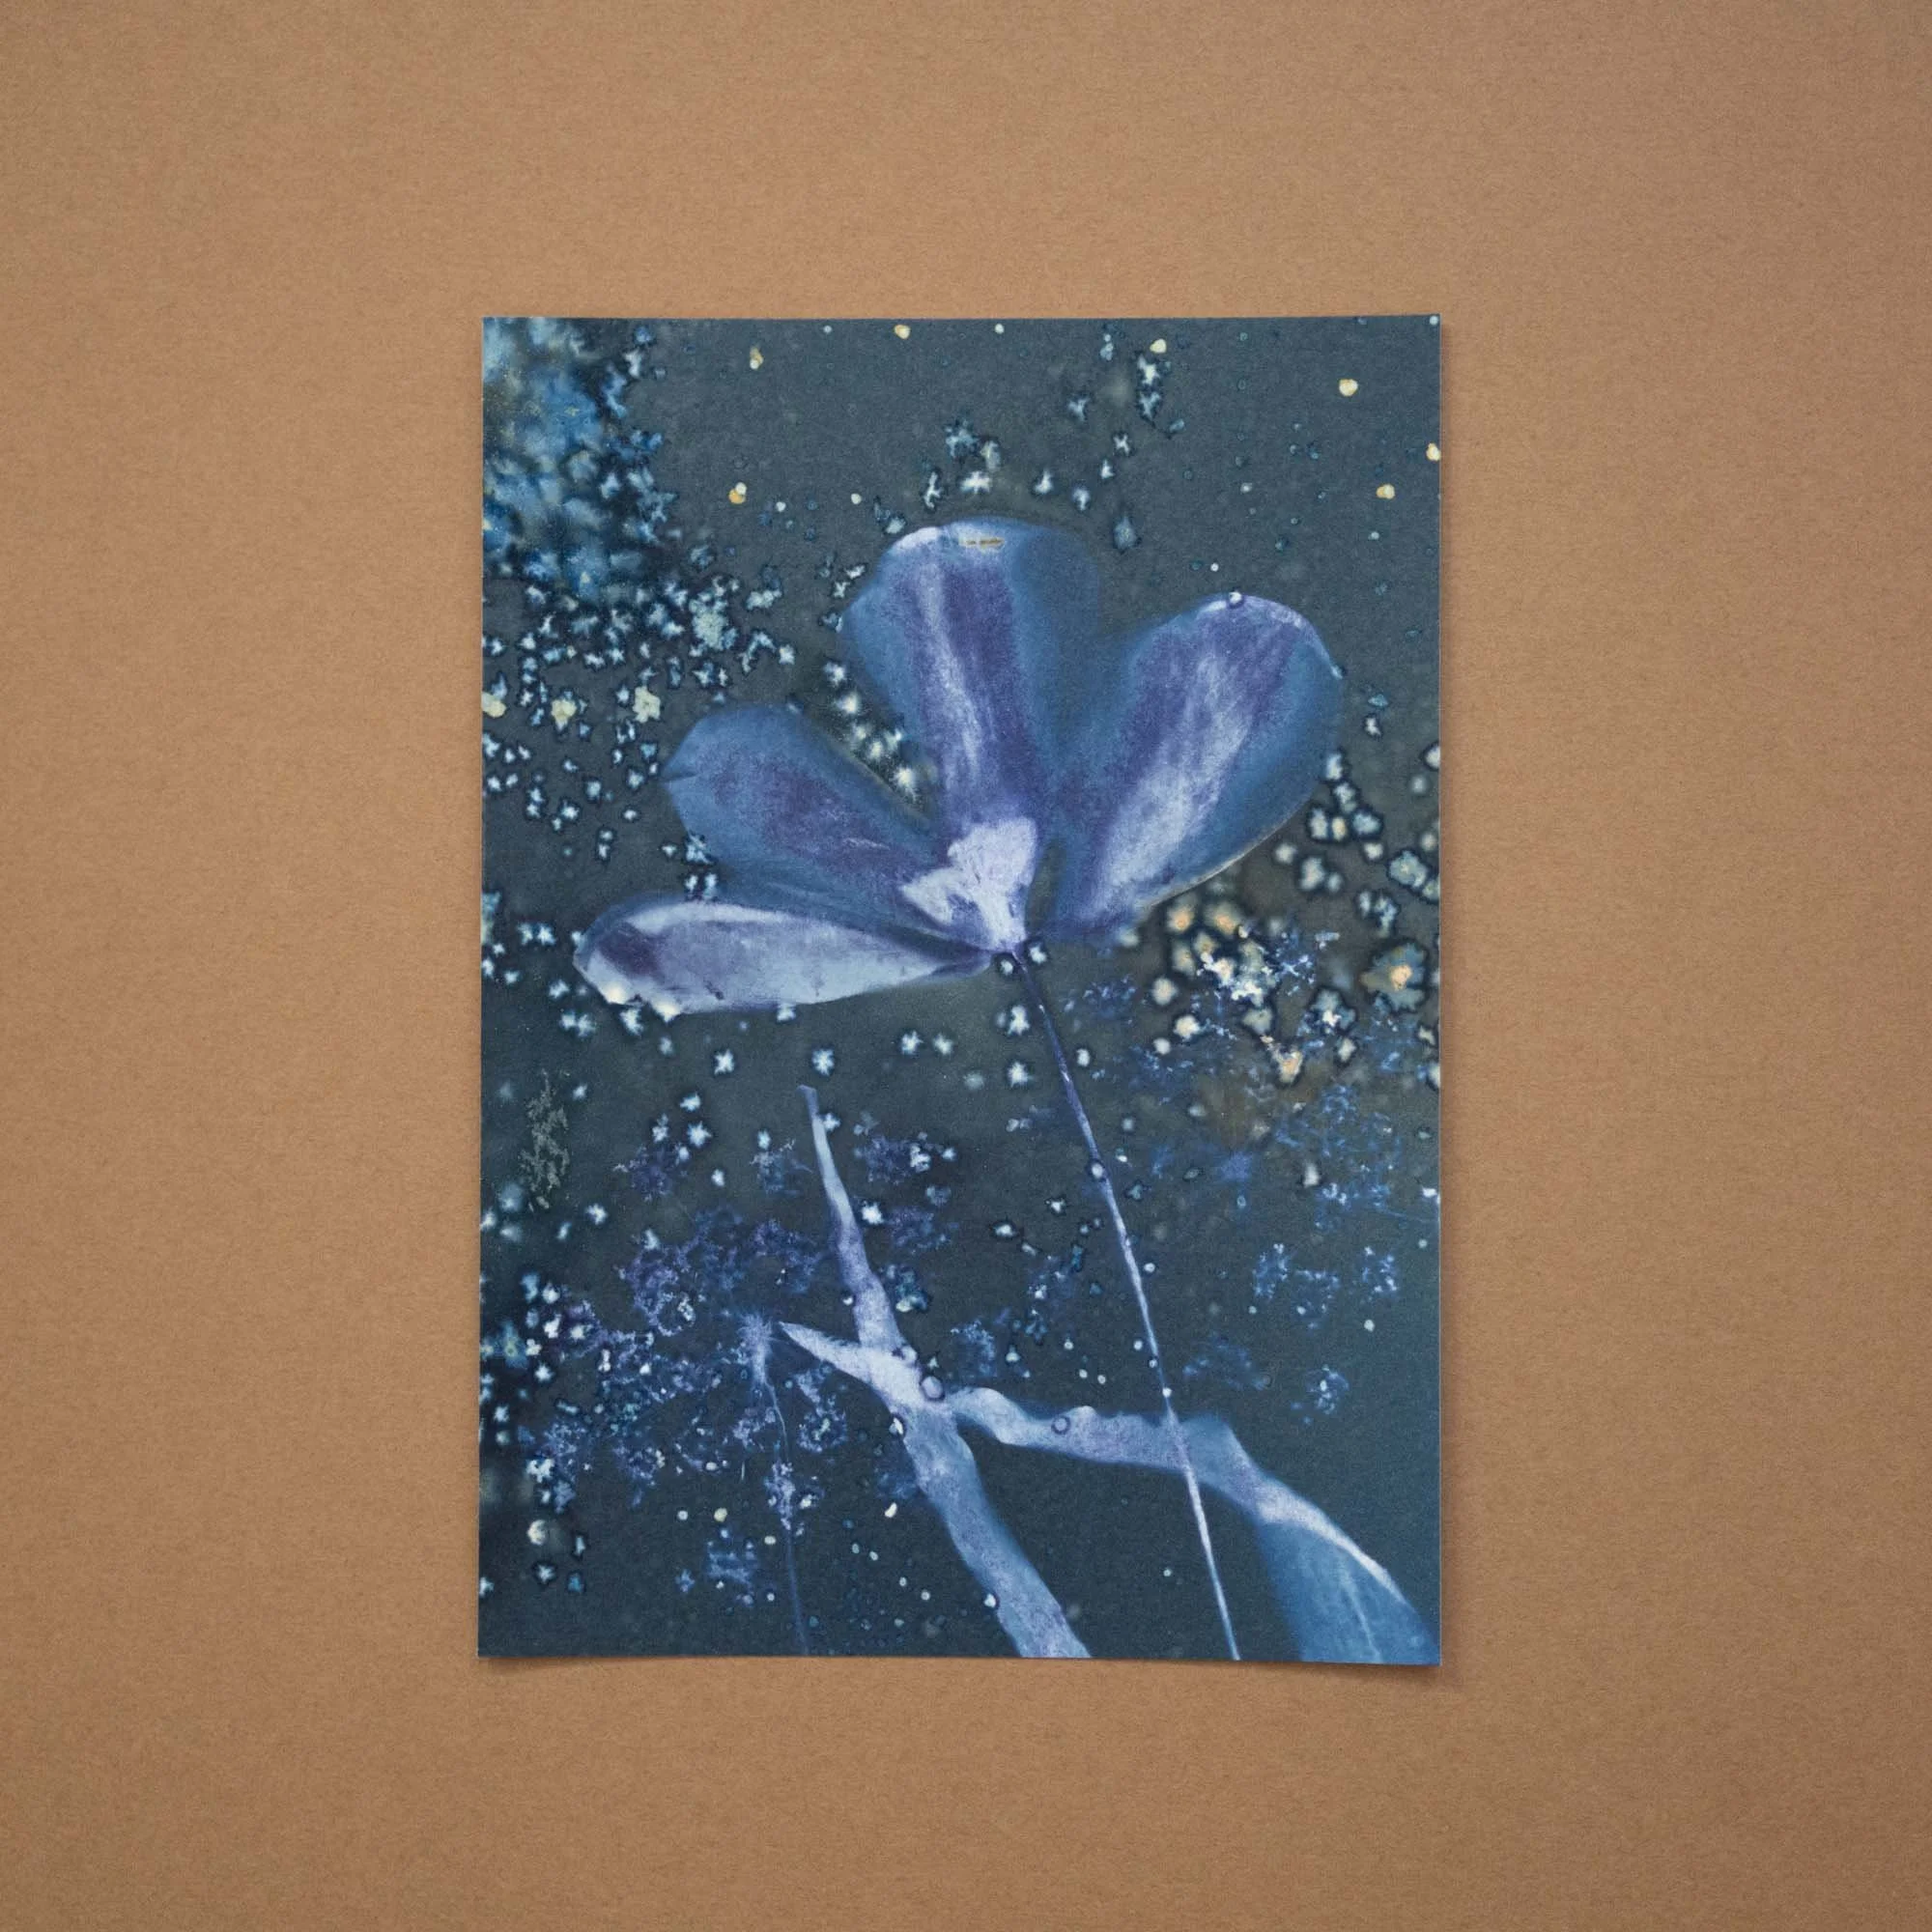
This meant that I needed to look for plants with delicacy. Ones with petals and thin leaves. Spring was just around the corner with the right kind of bounty. The reason (I believe) this works so well with the wet cyanotype method is that due to the long exposure, more of the image comes into focus. Just like with night photography with a camera, a long exposure is needed to take in the most amount of light and see the details within it. Photographing the Milky Way or trying to get star trails takes time and patience. The same is true here.
Time and patience. The true qualities of cyanotype.


More tulip tries led to more success. I even tried replicating some of the same effects in my dry cyanotypes. It works too, but due to the short exposure time, you only get a hint of the details in the transparency.
More attempts above at trying to capture the deep blue of my first tries. Too much wet media on the paper under the glass I lay on top resulted in some puddles that were unavoidable unless I removed the glass. Even though these were not what I was after, I still enjoy them. The unexpected nature of the technique is after all part of the appeal.


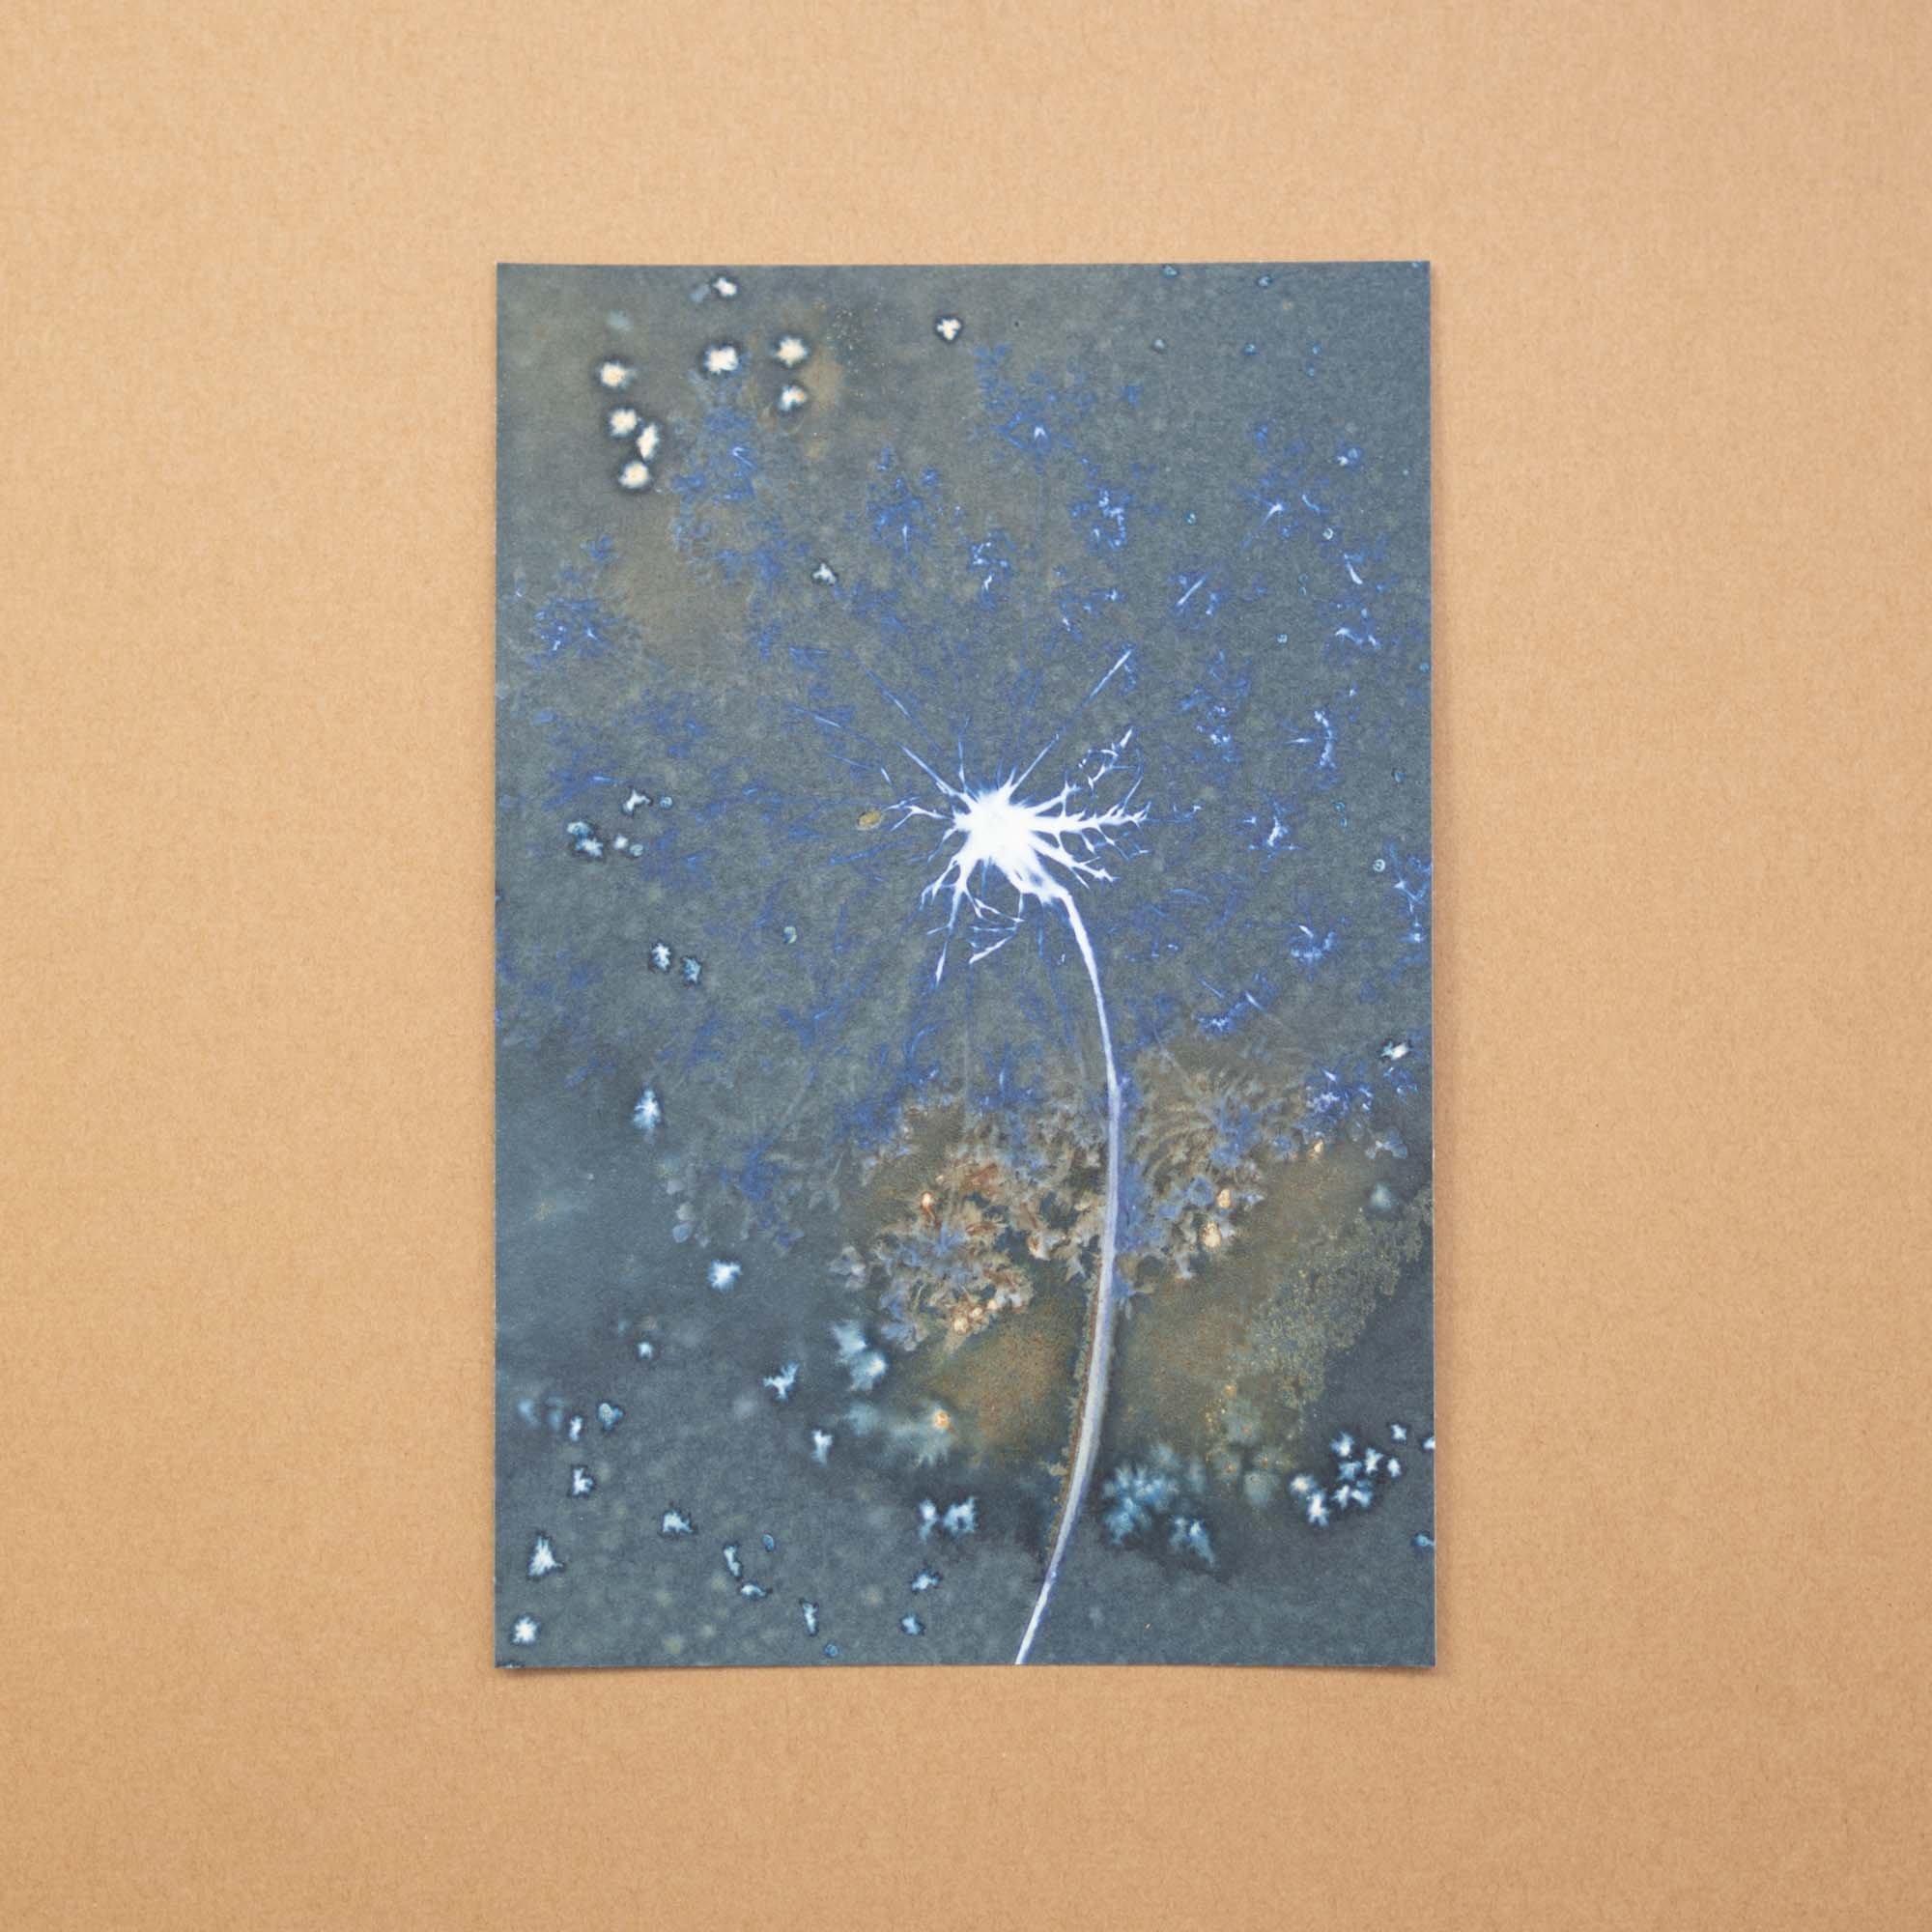
What was to come though was finally the breakthroughs I was looking for. I got a bouquet of flowers from a farmers market that had daffodils and narcissus in it. These were soon to become some of my favorites to print with. The transparency was there and the details were great. The maidenhair fern print above was also the color I had been seeking. But I had moved so fast doing it, what was the secret?!?
I stumbled upon a blog where someone was talking about experimenting with adding watercolor pigment to their wet cyanotypes to get colors in their prints. Color? Huh? In cyanotypes? That’s not blue? I’m in. I didn’t have any pigments, but I had liquid water color. It’s very concentrated and might do the trick. Let me tell you that it does. The paper needs to be really wet with the chemicals or something else (like spraying with diluted vinegar) before you drop it on to get the bloom effect. But even the colored blobs are fun. I especially like to drop it next to the plant and have it run underneath.


This year, I leaned heavily into the wet method to experiment and push the boundaries of the process. I am looking forward to more next year when the sun comes back around. And for those waiting to see what the secret is to the blue I was after since the beginning, it’s less vinegar. I think I may have dropped it on those first ones and not used the spray bottle. I have some I made recently that I put zero vinegar on and they were the color I was looking for all along. So if you want that more muted grayish blue, vinegar is your guy. If you want it a little more deep, then use it sparingly if at all. I need to photograph those prints. So I’ll share those soon. I also tried using dry cyanotype paper and rewet it with diluted vinegar. It worked like a charm. More on that soon as well.

