Cyanotypes
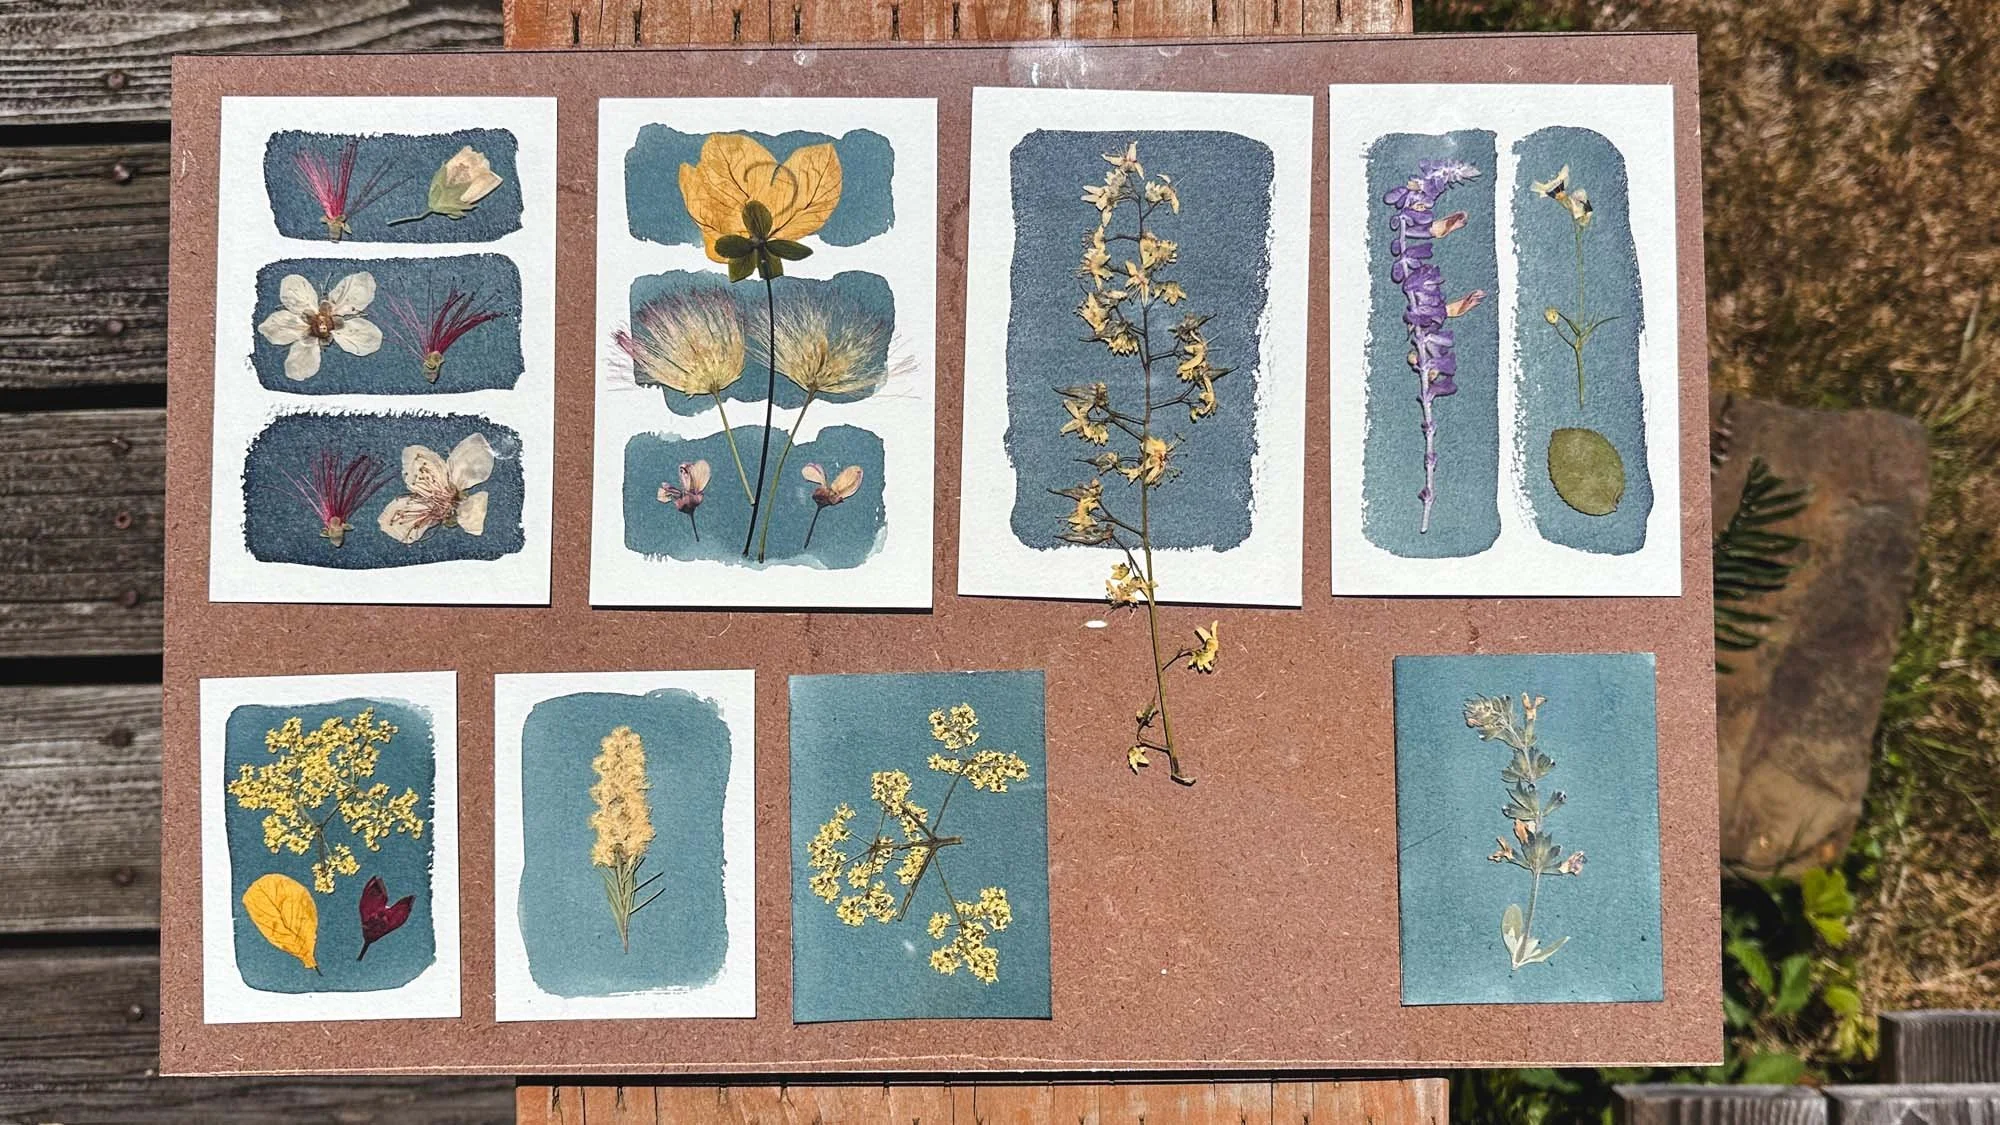
Cyanotypes (aka sun prints or blueprints) are a form of alternative photography. Taking slow photographs using the sun. I make botanical cyanotypes. And collecting the plants, pressing them, and seeing how the sun interprets their shapes is pretty magical.
I have put together a comprehensive guide of my workflow when creating these photos in blue. This process is made for experimentation and exploration. So take what I’ve shared here as a starting point and see where creativity takes you. It’s worth looking up Anna Atkins if you are interested in the history of the process. She’s a cyanotype pioneer and her work is beautiful and very inspiring. If you’d like to see some of my favorite prints, I have put together a little repository of them.
If you purchased my cyanotype kit, you can skip ahead to the detailed instructions if you want. If you’ve given it a try and want to dive deeper, I have guides on the dry and wet methods, creating test strips, and toning. The kit will have paper ready for the dry method, but the wet method is still an option for you. Check out the guide for the wet method to see how you can experiment with that using your kit.
I put together a little video of me making cyanotypes back when I was first learning. It’s a nice glimpse into what’s ahead before you get started.
materials
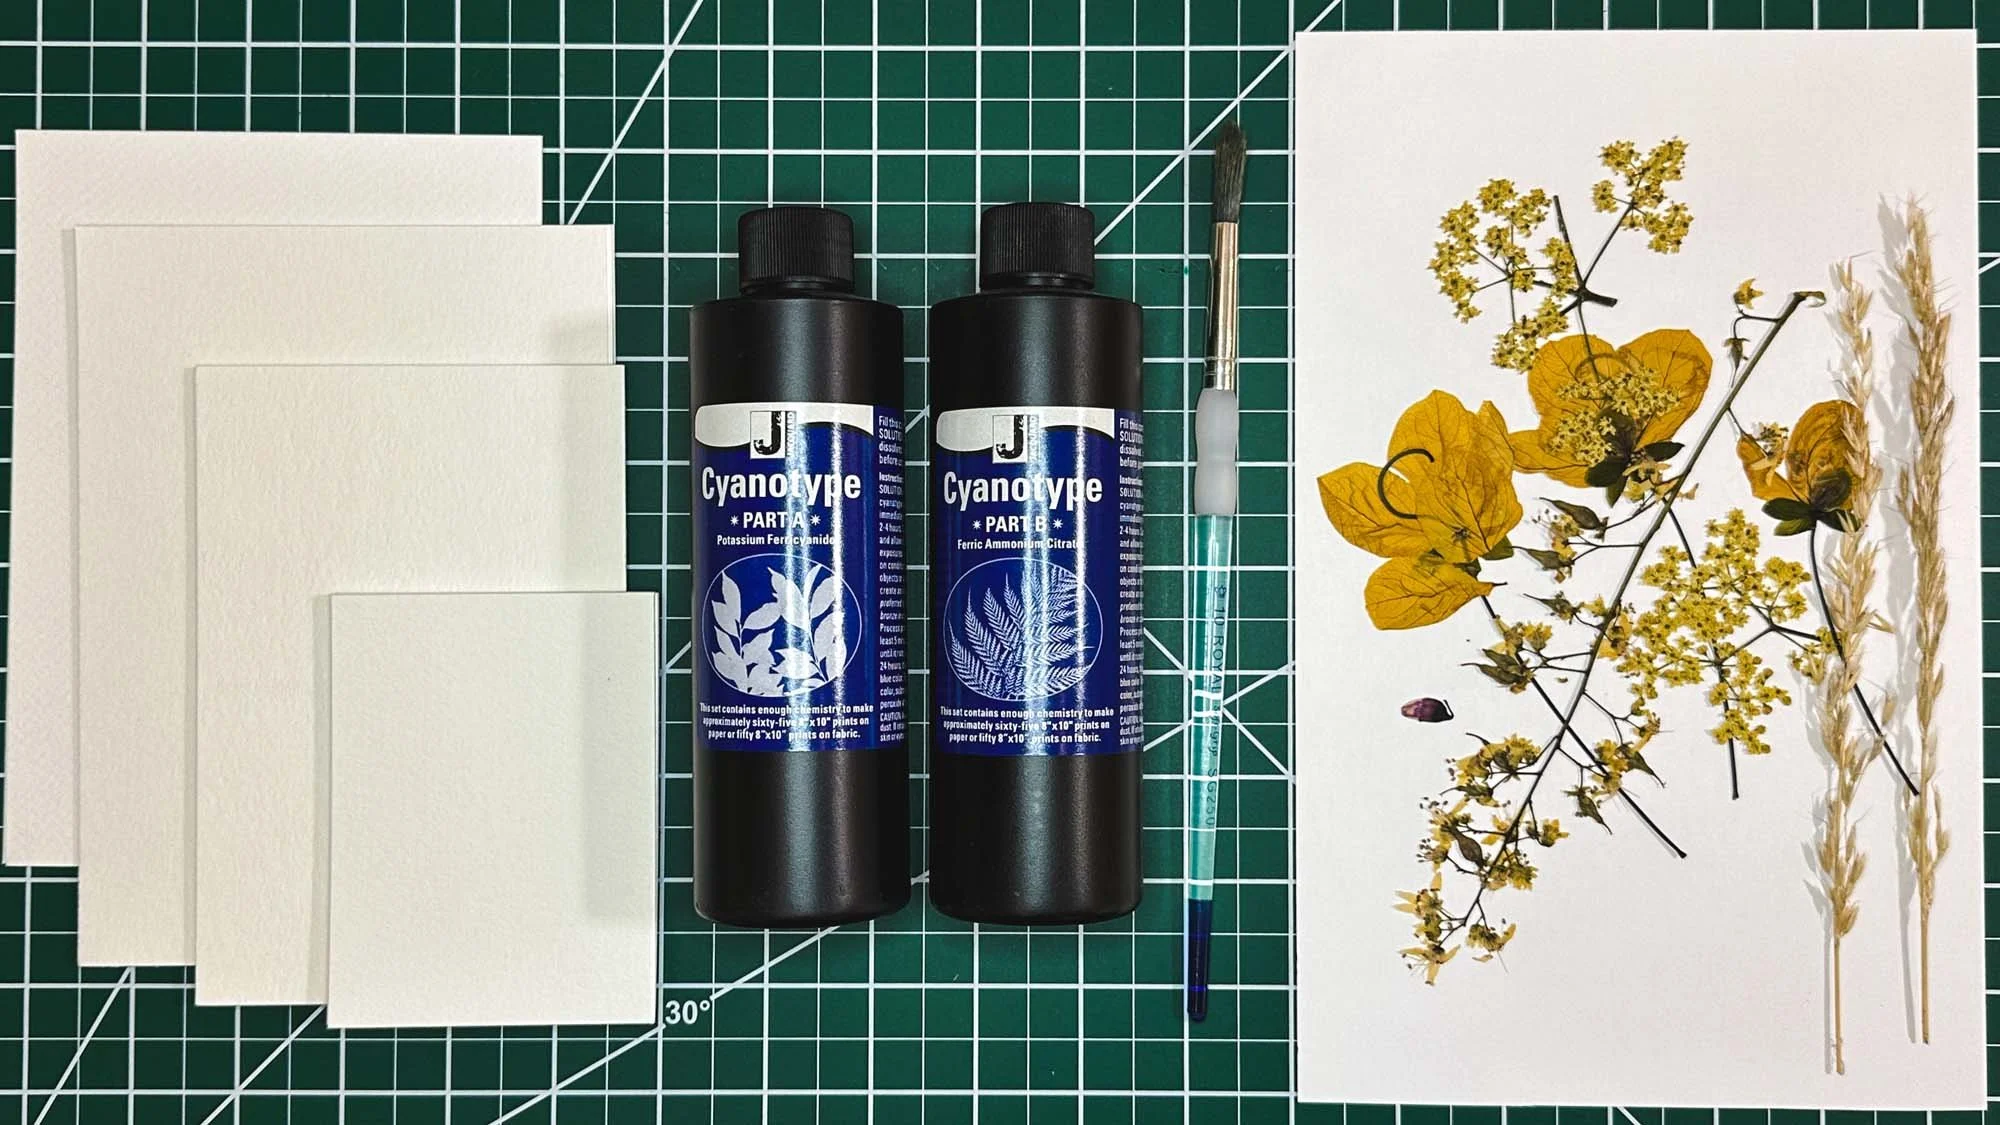
Obviously, we’ll start with the tools we need. We’ll need some cyanotype chemicals, paper, and something to print with such as plants. I like to use Jacquard brand for the chemicals. They come in powder form. You add water to the bottle and shake. Then mixing equal parts of each, we have our solution.
design
Next up, in a dim area away from sunlight, we’ll paint the mixture onto the paper. You can coat the entire paper or get creative with it. Let the paper dry in a dark place. Once it’s dry, add your plants. Laying them out in interesting designs is lots of fun. How you do this is up to you. Experiment with different options to see what you like.
time for sun
Now the prints need to lay out in the sun. I find that in the Oregon summer, 5 minutes is a great amount of time to get the kinds of prints I like. Some papers or plants will require longer.
bath time
After you’ve exposed the prints to the sun, you will need to rinse them in a cool water bath. This rinses out the remaining chemicals. Blot the prints with a towel afterward to get any excess water off and let them dry. The prints will get darker over the next 24 hours. To speed up the oxidation process, add a little peroxide to your rinse bath. Once dry, they are all done!
tips & experimentation
Paper
I have the best luck with cheap paper. Watercolor paper works best for this kind of process because it needs to get wet several times and hold up to that kind of soaking. Canson makes an XL 9” x 12” watercolor pad that runs about $10. It has 30 tear off sheets in it. I have tried Arches paper as well. That paper works great too, but it absorbs the chemicals differently and provides a slightly different looking result. The Canson paper works so well for me and I am partial to the blue I get with it. But as always, experiment and see what papers you like.
Dry vs Wet Method
There are two primary techniques with making cyanotypes. I mostly work with the dry method as shown above. I let the paper dry before I put it out in the sun. But there is also the wet method, by which you skip the drying step and move straight to the sun. This provides a slightly different outcome. You can also add in other elements while it’s wet like turmeric, diluted vinegar, salt, or walnut ink.
The whole process of cyanotypes is customizable. So experiment and find the way that speaks to you.
instructions
✿ dry method ✿
✿ Wet method ✿
✿ Test strip ✿
✿ TONING ✿
If you purchased one of my cyanotype kits, the instructions below are for you. The paper has already been coated and is ready to print. You can rewet the paper and try the wet method if you would like. If you want to try mixing the chemicals yourself and experimenting more, I have detailed instructions for the dry and wet methods, creating test strips, and toning.
Cyanotype Kit Detailed Instructions
Gather materials for printing (plants or stencil, frame with glass larger than your coated paper, timer/clock, container with cool water, towels, optional: tweezers, hydrogen peroxide, spring clamps)
Prepare a container larger than your paper with cool water. You will only need enough water to dip your paper and move it around in. Adding a smidge of hydrogen peroxide to the water quickens the development process, but is not necessary.
In a dimly lit area away from sunlight, lay frame backing on your workspace and place the coated cyanotype paper on top. Depending on the size of the frame, you might be able to do more than one at a time.
Place your printing materials (plants/stencil) on the paper in a design/layout you like. Using a pair of tweezers can help with placing tiny or delicate objects.
Lay the glass from the frame on top of backing, paper, and your objects to hold them all together like a sandwich.
Place the frame over the glass, flip it over, and secure the backing. Note: This step is optional as you can just use the weight of the glass to hold down your items. It might be helpful to put some tape over the edges of the glass to prevent any injuries. Some frames come with plexiglass. This will work as long as it’s heavy enough to hold everything down. Otherwise, I’d suggest using the frame to hold it together. Spring clamps are also handy if you don’t want to use the frame.
Take your frame sandwich outside and lay it in direct sunlight.
The amount of time to leave it out in the sun depends on many factors such as the time of day and intensity of the UV light. When fully exposed, the paper will turn a silvery color. 10 minutes is a great place to start on sunny day or 20 minutes for a cloudy day. You can adjust for other prints if it’s not the desired blue. In my experience, overexposing doesn’t change the outcome too much depending on the types of plants used. But underexposure will result in a lighter blue. Making a test strip can be helpful to determine more exact exposure times.
Once the timer has elapsed, remove your print and take off your items. Take your print over to the container of water and place it inside. Swish the paper around side to side for a few minutes. The part of the paper that was covered by your objects will have the solution wash away. It will be yellowish at first and then change to white (or the color of the paper).
Lay your finished print on a towel. Blot the paper with another towel to remove any excess water.
Leave print to dry.
Over the next 24 hours, the blue of the paper will deepen and be finished. If you used peroxide in your water bath, the blue will have been set immediately after rinsing.


